What to Eat Post-Workout

This question comes from a member at Oakland Fitness Company:

What do you suggest for a post workout meal ?

This is a great question! Here are some simple guidelines to keep in mind when thinking how to refuel after a hard workout.

First, determine if you really need a post workout meal. When I refer to a post workout meal, I mean  an extra meal on top of your regular breakfast, lunch, and dinner. Post workout meals in addition to your three main meals are only really necessary for those who are doing high-intensity training, long duration workouts, or for those trying to gain muscle. Specifically, this could look like crossfit, body building, competitive training, long distance running, or playing sports like basketball. For lower intensity workouts, an extra meal may not be necessary.

Focus on protein and carbohydrates. Protein is important for rebuilding muscle and connective tissue, and carbohydrates will replenish glycogen stores. Glycogen is essentially stored energy/sugar, and if you’ve done a high intensity workout, you’ve most likely depleted these stores.

When choosing carbs, go for starchy ones like root vegetables/sweet potatoes. These are best for muscle glycogen and will aid in getting ready for your next training session.

Sweet potatoes cut using a spiralizer - one of my favorites!

Sweet potatoes cut using a spiralizer - one of my favorites!

Ideally, minimal fruit and fat. Fruit has plenty of fructose, which will often replenish liver glycogen before replenishing muscle glycogen. Of course, if fruit is your only option, then something would be better than nothing. Minimal fat would also be ideal, as fat can slow down stomach emptying and in this case, you want to get the nutrients to the muscles as quick as possible.

Timing is everything. Eat your post workout meal around 30 minutes after training. Then, eat your regular meal 60-90 minutes after that.

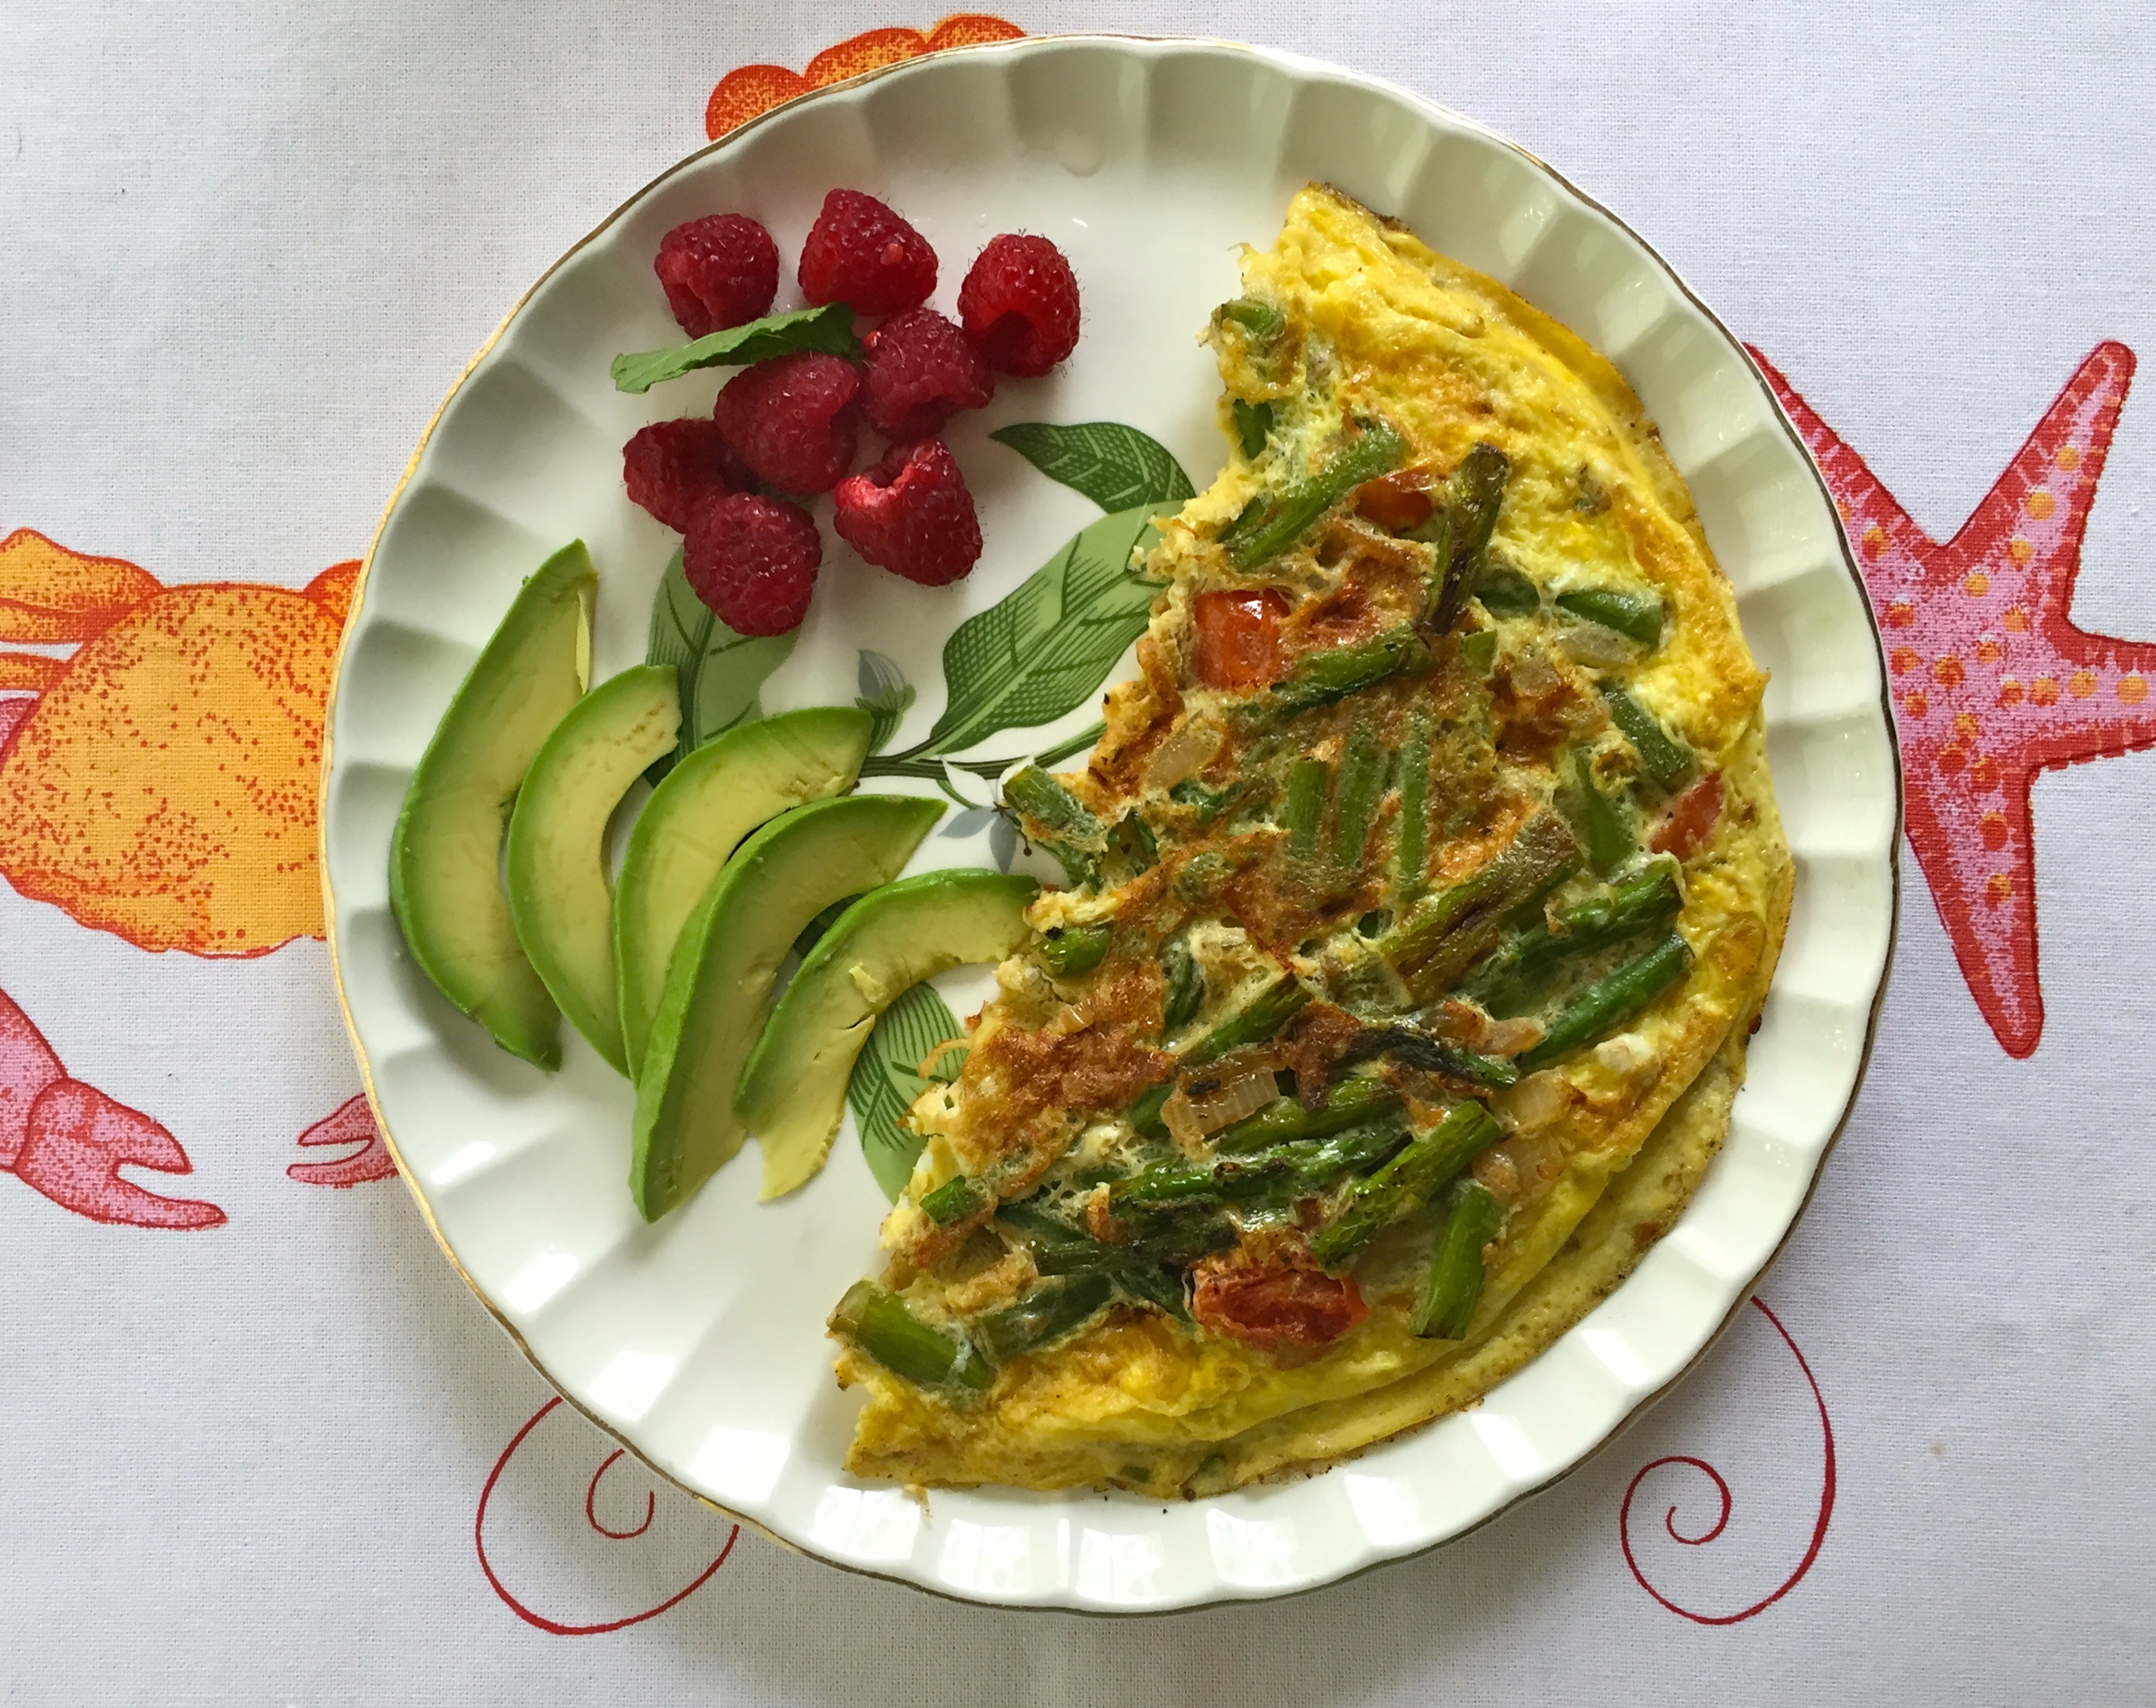
Some examples of easily digestible protein and glycogen replenishing carbs would be salmon and cubed sweet potatoes, chicken and mashed potatoes, or a low glycemic smoothie blended with 2 raw pastured eggs, or hard boiled eggs on the side.


If you’re just working out to maintain health and general fitness, pay attention to how you feel after your workouts, even if you don’t fall into one of the categories explained above. If you’re working out consistently, maybe 3-4 days a week, you may not need to add extra post workout fuel, however you may need to increase the carbohydrate content of your regular meals. Personally, I’ve found that after a tough workout, simply adding half a sweet potato to my normal breakfast was key in my ability to recover, stay satisfied until lunch, and also stay strong for my workouts later in the week. 

Asparagus Cauliflower Soup

It seems like everyone (including myself) is constantly looking for recipes that are quick and easy, so here’s one to keep handy. 

I usually don’t multi-task while cooking, however I made this soup while watching the Golden State Warriors tough it out in game 4 of the play-offs. (Go dubs!) You can make this soup during commercial breaks - it’s that easy!

Bay Area Local Foods Wheel - hangs in my kitchen and is a great reminder to eat seasonally! 

Bay Area Local Foods Wheel - hangs in my kitchen and is a great reminder to eat seasonally! 

Plus, it’s June and that means peak season for asparagus! How do I keep up with what’s in season (besides keeping my eyes open at the farmer’s market)? This super  handy and adorably illustrated food wheel, which can be found here

ASPARAGUS 

When most people think of vegetables, they often don’t think “protein,” however asparagus is a great example that vegetables do indeed contribute (in small amounts) protein to the diet. One cup of asparagus offers only 24 calories, and almost half of those calories are derived from protein (~2.6 grams). 

Asparagus is a great option for anyone dealing with arthritis or rheumatism, as the phytochemical antioxidants (racemofuran, asparagamine A, and racemosol) have been found to inhibit enzymes that produce inflammatory compounds. 

And lastly, asparagus has the amino acid “asparagine” which when excreted in the urine, gives off that strong, characteristic smell. I know, you’ve always wondered...

Asparagus Cauliflower Soup

I usually just toss asparagus with some coconut oil/ghee, salt and pepper, then roast them in the oven, however here’s another way to use them. The cauliflower creams up the texture of this soup perfectly, and I love the hint of basil + crunch of pine nuts. Enjoy! 

Servings: 2 as main dishes, 4 as sides 

Asparagus Cauliflower Soup with Basil and Pine Nuts

Asparagus Cauliflower Soup with Basil and Pine Nuts

  • 1 tbsp coconut oil 
  • 3 cloves garlic, minced 
  • 1/2 head cauliflower, cut into florets 
  • 1 pound aspargus, trimmed and roughly chopped 
  • 1/4 tsp cayenne pepper 
  • 3 cups broth (veggie or chicken, homemade would be ideal!) 
  • 1 1/4 tsp sea salt 
  • fresh ground pepper, to taste 
  • basil
  • small handful pine nuts 
  1. In a medium pot, melt the coconut oil and add the garlic. Toss around for 1 minute. 
  2. Add the cauliflower, asparagus, and cayenne pepper, tossing around in the coconut oil/garlic for about 4 minutes. 
  3. Pour in the broth (or water), add the salt and pepper,  and bring to a boil.
  4. Reduce to low, and cook for about 7 minutes, or until the cauliflower has softened. 
  5. Transfer all contents to a high speed blender, and puree until smooth. (If you have a Vitamix, you can add the contents while hot. Otherwise, allow the soup to cool a bit so you don't blow the top off your blender!) 
  6. Once smooth, taste and add more salt and pepper if necessary. If it's too thick for your liking, add water or broth and blend again. 
  7. Stack and roll the basil leaves, then cut into slivers (aka chiffonade). 
  8. Place the soup into bowls, and add the basil + pine nuts. 
  9. Serve warmed, or chilled. (I've had it both ways, and prefer it warm!) Enjoy! 


Laissez les bons temps rouler!

The flavor and culture of New Orleans, Louisiana is deliciously pronounced via fried shrimp po’ boys, beignets, muffuletta’s, gumbo, and red beans & rice. It’s hardly a city well known for “healthy food,” and most tourists don’t visit for personal wellness purposes. I lived in this great city during my undergrad studies at Loyola University.  While I was there, my best bet for anything quick and nourishing was Whole Foods on Magazine St.  (as well as the best place for vegan chocolate chip cookies:) 

Recently, I returned to NOLA and was overjoyed to see a variety of vegan, vegetarian, juice, and smoothie shops all over town. I had two days to hit a few stores and get my taste buds wet, so I dragged my parents around to scope out the burgeoning health food scene.

If you ever travel to New Orleans, after a few days you’ll most likely find yourself foaming at the mouth for some fresh greens or anything not-fried, and these places will surely come in for the rescue: 

Superfood Bar  - The first time I came here was in 2012, and I was SO excited to find it. I was in NOLA for my brother's wedding, and amid all the festivities, desperately needed some greens. They have a vast array of smoothie options, wraps, salads, and other great rejuvenators like fresh coconut water and house made kimchi. They also offer a variety of “Healthforce Superfoods” products, so you can get your extra boost of green. A casual, down to earth vibe with an emphasis on raw foods. 

I grabbed Superfood Bar's vegan "cookies" for my plane ride the next day. Unfortunately a bit dry, and probably not worth the $4, but didn't get a chance to try any of their food options. 

I grabbed Superfood Bar's vegan "cookies" for my plane ride the next day. Unfortunately a bit dry, and probably not worth the $4, but didn't get a chance to try any of their food options. 

Raw Republic: Popped in here and was stoked to see the variety of non-food products on their shelves, including Dave Asprey’s Bulletproof coffee & products, local natural beauty/makeup products, cleanse packages, books (Kimberly Snyder’s Beauty Detox Diet, Dr. Junger’s Clean & Clean Eats) and Bright Earth products. They also had a few other products I hadn’t yet tried, like Solle Naturals. I tried their "Thai Greens" drink and it was delish (with bok choy and basil, not too sweet with a tad of yummy bitterness) and they also had a small selection of grab and go foods.  The place also collaborates with a naturopathic doctor, and right by the check out counter you can opt to make an appointment. From what I gathered, Raw Republic aims to be more of a whole wellness center, complete with products, cleanse packages, vegan foods/juices, and wellness practitioner services. 

FARE Food for Health: A large selection of juices, smoothies, as well as lots of paleo-approved treats (muffins, macaroons, muffins, and cookies). They also had some great raw snacks, like plantain chips and a variety of raw/ dehydrated crackers. I loved that you could buy Great Lakes Gelatin here too - a great collagen supplement which is great for healthy skin, musculoskeletal health, and digestive health. 

Seed: If you go anywhere, go here. You could bring your most anti-health friend here and they’d surely find something (if anything, they offer traditional NOLA beignets, and Abita beer). Upon entering I immediately fell in love with the bright, clean atmosphere and local art. They offer plenty of seating,  plus a juice bar in the back that also offers alcoholic juice cocktails. A beautiful place to come for lunch with a friend, or even for a date night. Everything on their menu is vegan, and they offer a great variety. Menu highlights include toasted coconut wrap ( lettuce, tomato, toasted coconut chips, garlic aioli, lavash bread - which you could trade out with raw flax-onion "bread"), pad thai (with spiralized veggie noodles), and mango + kale salad. My mother and I tried the mango + kale salad, plus artichoke fritters. Perfection. 

Mango + Kale salad and Artichoke Fritters from Seed 

Mango + Kale salad and Artichoke Fritters from Seed


The Green Fork 

The Green Fork 

Cashew Nori Chips from The Green Fork 

Cashew Nori Chips from The Green Fork 

Soups from The Green Fork  

Soups from The Green Fork 


The Green Fork: I wasn’t planning to come here, but it was right across from Seed and we were so glad we went. This place was impressive. On their wall boasts “#8 best juice/smoothie bar in the country” via Travel Magazine. My favorite part about this place was kombucha on tap, and a variety of grab-n-go soups in large mason jars, as well as their cashew nori paper snacks, which I snagged for the plan ride home (so much better than those tempting honey roasted peanuts). 

Chimi Beef Salad from Hi Volt 

Chimi Beef Salad from Hi Volt 

Hi Volt Coffee Shop. Although this place has a very coffee shop vibe, I wanted to include it for their Chimi Beef Salad - if I lived in the neighborhood and really needed a nourishing lunch, I would get this. This recommendation may be a bit short sighted since it was the only dish I tried, however it just marked so high on my nutrition-o-meter!  A super satisfying, gluten-free, paleo salad that’s big enough for two servings. Complete with shredded beef, avocado, and a poached egg on top, then drizzled with chimichurri dressing, this salad kept me very satisfied - so satisfied that I had no interest in snacking on my plane ride back to the Bay (and I LOVE to snack!). They also offered “Shockproof coffee,” with MCT oil and butter, and although I didn't try any, I could tell their muffin/baked good options were on point, just by the looks of them! 

This is by no means an exhaustive list or extensive review of all the healthy restaurant options in New Orleans, just a few places I had time to try. Of course if you do go there, I would still advocate having some real deal, full fat, deep fried, NOLA style foods (fried shrimp po-boy from Crabby Jack’s is my fave), but these places will make even the most health conscious feel right at home. 

One of the best parts about being home? Mom cooking for me! Veggie omelette with asparagus and tomato, plus a side of avocado and raspberries. 

One of the best parts about being home? Mom cooking for me! Veggie omelette with asparagus and tomato, plus a side of avocado and raspberries. 

Laissez les bons temps rouler! (Let the good times roll!) 

Spirulina Mint Chip

This recipe was inspired by a popular juice shop that a friend brought me to one day. I tried it and immediately knew I needed to recreate it. My version is a little less sweet, however you can always add more dates/coconut nectar if you'd like. The cashews also add creaminess, but if you'd prefer less calories you can definitely leave them out without sacrificing flavor. 

My goal in recreating this smoothie was to up the nutrient profile, so I added the fully-loaded "superfood" spirulina. Spirulina is a potent blue-green algae that, like many foods and herbs, has several benefits. It's an excellent source of vitamins and minerals, and two of it's most poignant features include it's chlorophyll and protein content. 

The beautiful green color of spirulina comes from it's chlorophyll content. Think back to grade school when you learned about photosynthesis - chlorophyll is what allows plants to absorb and create energy from sunlight.  Now think about that for a second - chlorophyll literally takes sun's light and turns it into energy (through the process of photosynthesis) like magic. And this same magic, you can EAT! So it's kind of like eating the sun. Ok, maybe that's too far, but I like to think of it that way...Spirulina is also 50-70% protein by weight, and contains all essential amino acids (the building blocks of proteins). And because spirulina does not have cellulose walls, the  protein is easily digestible and highly bioavailable. However, while spirulina is an excellent protein source,  a typical serving size is around a couple teaspoons, so I wouldn't use it as a main source of dietary protein. 

Since spirulina is such a dense source of nutrients, a little bit goes a long way. If you decide to start incorporating it into your regular diet, start off slow. Although there are no known negative side effects of spirulina, it could take your body some time to adjust. Spirulina is super cleansing and detoxifying, so depending on your current state of health, the effects of detoxification can sometimes feel like excitement, sleepiness, or skin breakouts. Start gradually and always listen to your own body. 

Ingredients: 

  • 1 c homemade vanilla almond milk 
  • handful of spinach 
  • 1/4 tsp spirulina 
  • 1 frozen banana
  • 2-3 drops pure mint extract 
  • 1/4 c cashews, optional 
  • 1 - 1.5 tbsp cacao nibs 

Directions: 

  1. To a blender, add all ingredients except the cacao nibs.  
  2. Blend on high until smooth. If you want a creamier texture, add cashews. 
  3. Taste and adjust. If banana isn’t sweet enough, add 1-2 dates. If you like more mint, add another drop or two. 
  4. Add in cacao and pulse or blend for just 2-3 seconds, until slightly chopped and mixed throughout. 
  5. Pour into a glass and top with extra cacao nibs. Or, freeze in popsicle molds! 


Red Cabbage Tahini-Ginger Slaw

Whenever I feel like I've had a few days of not-so-great eating, a crunchy cabbage slaw always whips me back into shape! Just knowing I'll be eating nearly 1/4 head of cabbage makes me feel better, and all the fiber-rich veggies keep my digestion happy too (just make sure to chew well, and maybe add some kraut or kimchee :)

Since I mentioned digestion, be aware that while some of us can handle raw cruciferous vegetables just fine, others might not do so well. Members of the cabbage family contain goitrogens, which can inhibit thyroid function. This is mainly only problematic if eaten in too high doses (i.e. more than 4 servings a day) and if coupled with iodine deficiency (i.e. make sure to eat your sea vegetables!). Cooking, however, can help to inactivate the goitrogens, and can also make the tough cabbage leaves easier to digest. Be aware of how your gut feels 1-2 hours after eating. If you feel bloated, gassy, or uncomfortable, try steaming the cabbage next time and see if that helps. 

Now on  to the bright side! Cabbage is one of the best  vegetables you can eat, mainly due to its potent anti-cancer effects. Cruciferous vegetables (which also include broccoli, Brussels sprouts, and cauliflower) contain  more phytochemicals than any other vegetable family.  Population studies consistently show that the higher the rate of cruciferous vegetable consumption, the lower the rates of colon, prostate, lung, and breast cancer. Additionally, cabbage is an excellent low-calorie source of vitamin C, potassium, folic acid, vitamin B6, biotin, calcium, magnesium, and manganese. BOOM!

While red cabbage is the star of this recipe, there are endless possibilities for other vegetables to include. Get intuitive at the farmer's market and choose whatever's calling to you...chopped cucumber, bell peppers, Napa cabbage, mint, basil, sprouts - whatever makes you feel like a total body "YES"! 

The most time-consuming part of this recipe is all the chopping, so make sure to use a hand-held mandolin and food processor with the shredding blade to save time. I would just shred/slice more than enough for the recipe, and then save the rest all week to throw into salads or stir-fries. 

Ingredients: 

Slaw: 

  • 1/2 red cabbage, sliced thinly on a mandolin
  • 2 large carrots, shredded
  • 1 medium golden beet, shredded 
  • 1/4 bunch cilantro 
  • 1/4 cup almond slivers, toasted 

Dressing: 

  • 2-3 inch piece ginger, peeled and grated on a microplane grater
  • 3 green onions, minced 
  • 1/4 cup coconut aminos (or tamari)
  • 3 tbsp water 
  • 4 tbsp tahini 
  • 1 tbsp lime 
  • 2 tsp apple cider vinegar 
  • pinch of sea salt 
  • 1/2 tsp coconut nectar (or honey, optional)

Directions: 

  1. For the slaw, add all ingredients except cilantro and almonds to a bowl.
  2. For the dressing, add all ingredients to a blender and blend until smooth. (For the ginger, a microplane grater is easiest) 
  3. Combine the slaw with the dressing and toss well. Add the cilantro and almonds last. Enjoy!


Strawberry Hemp Mylkshake

If you can get your hands on some local, organic strawberries, try out this vegan mylkshake! (mylk= non-dairy milk alternative :) 

In California you can find strawberries as early as January, but peak season is April to June. Also make sure to go organic on these, as the Environmental Working Group has identified strawberries as one of the top 12 highest pesticide-laden foods on the market. 

Try this recipe for breakfast, or for a 4:00 PM pick-me-up. The hemp seeds offer excellent protein and fat, and the ground flax is a great source of fiber. I also love this recipe because it doesn't call for any almond milk - which I don't always have on hand - yet it's still delectably creamy. With the sweetness of dates and in-season strawberries, this dairy-free shake will feel like such a treat! 

image.jpg

Ingredients

1/2 cup - 1 cup strawberries

2-3 tbsp hemp seeds 

1 banana, frozen 

1 tbsp fresh ground flax 

dates (to taste, optional)

1 cup cold water  

  1. Add all ingredients, except flax, and blitz. For a thinner consistency, add more water. If you want it thicker, add less. 
  2. Taste and adjust (if you want more sweet, add dates. If the banana isn’t frozen, add ice). 
  3. Add ground flax last and blend until just combined. 
  4. Pour into a glass and enjoy! 

Nutritional Highlights

Strawberries - an excellent source of flavonoids, which protect against inflammation, cancer, and heart disease.

Hemp - a complete protein that’s highly digestible. Hemp seeds also offer the perfect 3:1 balance of omega 3 to omega 6 essential fatty acids. 

Flax - in addition to fiber, flax seeds also contain plant lignans, which have significant anti-cancer effects. 

Cashew Lavender Milk

Almonds are probably the most popular nut for making non-dairy milk, however you can use almost any other nut, too. I really like Brazil nuts, walnuts, and pistachios, or a combination of a few different ones. 

Regardless of the nut, I always soak them first for at least 8 hours or overnight to release the natural phytates. Phytates are antinutrients that reduce the bioavailability of some of the minerals found in nuts and seeds. Soaking them in water with a few pinches of salt helps to break down some of the phytic acid and improve their absorption. Even for the nuts/seeds that don't have skins (like cashews), I still soak them which softens them up and makes them easier to blend (especially important if you don't have a high speed blender). 

Cashews are a great option for nut milk because you don't need to strain the liquid (score!) and they're naturally very sweet. You can add extra sweetener with honey or dates, but my favorite sweeteners are whole berries such as strawberries. Strawberry milkshake anyone?

I created this milk for a dear client in my attempts to offer something unique and delicious. If you don't have a lavender bush, take a walk around your neighborhood and find some (that's what I did!). 

Lavender Infused Cashew Milk 

Ingredients 

  • 2 cups cashews, soaked overnight and rinsed thoroughly 
  • large bunch of fresh lavender 
  • Optional: sweetener of choice (coconut nectar, honey, dates, fresh berries) 
  • Optional: Honey Lavendar Yogi tea 
  1. For the lavender, break off the fragrant clusters at the tip of the stem (you know, the purple parts) and place them in a glass jar. The more you use, the stronger the taste will be. I used a pretty large bunch.
  2. Boil about 3 cups water and then steep the lavender for at least 20 minutes, longer if possible. 
  3. Next, add the soaked and rinsed cashews to a blender, plus 2.5 -3 cups of the lavender water. If you want a super creamy milk, add less water. 
  4. Blend on high until completely smooth. 
  5. Taste, then add sweetener of choice. 

Optional: Steep 2 bags of Honey Lavender tea (I've used Yogi brand) and use the tea in addition to the lavender water. This adds slightly more flavor and, depending on your taste, makes so that no sweetener is necessary. Imagine all other other teas you could use as a base for future nut milks...(Jasmine green tea almond milk?), have fun with it! 

image.jpg

Good for ya' Granola

I don't usually have granola on the reg', but every once in a while it it's a nice treat and brings me back to my childhood when cold cereal was a mainstay (still working on a gluten-free cinnamon toast crunch re-creation).  

I almost called this recipe "sugar free" but let's be real, maple syrup and dried fruit are both sources of sugar, albeit "natural" ones.

However, this recipe is a great option  when compared to store bought granolas, which are loaded with sweeteners.

And while on the topic, sugar is sugar, whether it comes from honey, blackstrap molasses, or maple syrup. Sure, coconut sugar is less processed than white sugar, but just don't kid yourself that since it's "natural" you can have more of it. Some sugar molecules like glucose, lactose, and fructose have slight differences in how they're metabolized, however sugar = sugar.

Just the sweet taste, whether from honey or Splenda, can promote a psychological response that makes you want more sweet things

...and before you know it, it's just you, a spoon, and Coconut Bliss chocolate peanut butter ice cream (yup, that's me!). And I don't think indulging in sweet treats every once in a while is a bad thing, however for me, once sugar cravings start, it's like an annoying monkey on my back, constantly bugging for its next sweet fix. Sugar, it's a slippery slope! 

Okay, back to the greatness of this granola!  

There are a few key parts to remember for homemade granola. The first is not over-baking it. I've gone through many a burnt granolas, and it's mostly because it doesn't look done when the timer sounds. Just trust. The oats might not look or feel crunchy, but they crisp up during the cooling process.  

Second, maple syrup. It just gives it that special taste that honey simply can't do.

Third, add the dried fruit pieces last and mix in with the cooled oats. This helps so they don't harden and stick in your back teeth ( you're welcome :)

Lastly, use whatever ingredients you have on hand, and serve with homemade nut milk (blend the nut milk with a banana for a real breakfast-y taste, or Cheerios-with-sliced banana nostalgia!) 


ingredients: 

  • 2 cups gluten free oats
  • 1/2 cup raw nuts 
  • 1/4 cup saw seeds
  • 1/2 cup dried fruit (goji berries, dried cherries, dried blueberries)
  • 2-3 tbsp maple syrup
  • 2 tbsp coconut oil
  • 1/2 tsp vanilla extract
  • large pinch sea salt
  • 1-2 tsp cinnamon  


  1. Pre-heat oven to 300 degrees.  
  2. Mix all ingredients except for dried fruit in a bowl. Either pre-melt the coconut oil, or put it in chunks and mix with your hands (it'll melt). 
  3. Place mixture on a cookie sheet, spread out evenly and not over-crowded, on the top rack of the oven.
  4. Bake for about 20-25 minutes.  
  5. Take out and let cool.
  6. Toss in the dried fruit. 
  7. Enjoy with homemade nut milk! 
image.jpg

Granola with goji berries, coconut chips, and quinoa puffs. 

Chocolate Avo Mousse

This creamy goodness is so blissful it feels wrong! While it does have some natural sugar from coconut nectar, it's paired with healthy fat from the avocados, which will make it more stabilizing for blood sugar. I've also added more water to the recipe and used it as chocolate frosting for a cake. Enjoy! 

Ingredients

  • 1/2 cup pitted medjool dates, soaked to soften 
  • 1/4-1/2 cup coconut nectar or honey, or a combination of both 
  • 1 tsp vanilla extract
  • 1 1/2 cups mashed avocado (about 3 avo's) 
  • 3/4 cup organic cocoa, cacao, or carob powder
  • 1/4 - 1/2 cup water
  • fresh berries, for topping  

Directions

  1. Place the dates, coconut nectar, and vanilla in a food processor and blend until smooth. ( I like to use coconut nectar because it has a more neutral flavor, but honey can get the job done as well. Maple syrup is another option, although it will impart more of its own flavor). 
  2. Add the mashed avocado and cocoa powder and process until creamy, scarping down the sides of the bowl every 5 seconds or so. (Cacao is raw and has a slightly bitter taste. Carob is a good alternative to cacao because it's not as stimulating. Personally, if I have cacao after 3 pm, I have a hard time sleeping at night!) 
  3. Start with 1/4 cup water and process again. Add more if necessary. Serve immediately, or chilled. 
  4. Be fancy and serve in a martini glass, with berries on top! 

Breakfast Chia Pudding

Last week I was in Mexico and of course picked up a new cookbook, Cocina Mexicana, by Beatriz Cadena. I was delighted and a bit surprised to see one of the first beverage recipes: Aguas Frescas: de CHIA (sage seed). I didn't realize that the chia drink is a traditional Mexican beverage, and although just gaining popularity within recent years, chia seeds have been used for centuries by the Aztecs. The Aztecs would eat them to gain long-lasting energy, and would also grind them in flours, use them in medicines, and mix them with other foods. The Aztecs definitely knew what they were doing, as these tiny seeds are an excellent source of fiber, protein, essential fatty acids, and minerals. Andalé! 

Chia seeds can be used in several ways and I hope you begin experimenting! Here are a couple ideas: 

  • As a thickener for sauces and soups
  • Added to water or diluted juices (great for kids!) 
  • As a binding agent in desserts (can be used as an egg replacement) 
  • Added to a breakfast quinoa porridge, or sprinkled in oatmeal
  • Soaked in water and gobbled down in between meals to curb cravings 
  • Made into pudding and enjoyed as a meal 
  • Added to smoothies for a thicker consistency, or sprinkled on top of a smoothie bowl

I usually enjoy them as a delicious dessert (flavored with vanilla bean and cacao powder) or as a breakfast when I want to switch up my regular 'ole routine. Here's a recipe to get you started: 

Vanilla Chia Pudding

This pudding can serve as a great snack or dessert. Try infusing it with different flavors such as unsweetened cocoa powder, cinnamon, nutmeg, or any other of your favorite spices. 

Using full-fat coconut from the can will give you creamy, decadent pudding. The full fat version will separate in the can, so make sure you blitz in a blender, just briefly to combine. You can use other milk alternatives too, the pudding just may be thinner, and you may need to add more chia seeds.

Ingredients: 

Pudding base: 

  • 1 cup coconut milk, full fat
  • 1/2 cup water
  • 1 tsp vanilla extract
  • small pinch sea salt
  • 2 dates
  • 2.5 tablespoons chia seeds

Example Toppings: use what you have or what’s in season! 

  • Chopped nuts/seeds
  • Coconut flakes
  • Pomegranate seeds
  • Chopped fruit (apple, kiwi, banana)
  • Raisins, currants, or other dried fruits 

Directions: 

  1. Add the coconut milk and water to a blender and mix until just combined. 
  2. Add the vanilla extract, dates, and pinch of sea salt and blend until the dates are fully pulverized. 
  3. Pour milk into a bowl. 
  4. Add in chia seeds, 1 tablespoon at a time, stirring constantly with a spoon as you pour them in. 
  5. Let sit for 5 minutes, then mix again. 
  6. Cover and store in the refrigerator for at least four hours or overnight. 
  7. Once settled and chia seeds have expanded, add more milk or water if you want it thinner, then add desired toppings.